Transforming your living room into a home theater can be a fun and rewarding project, perfect for bringing your family closer together. A key component of any home theater setup is a high-quality projector. In this article, we’ll guide you through the steps to set up a projector for your home theater, providing you with the ultimate cinematic experience in the comfort of your own home.
Choose the Right Projector
The first step in setting up a home theater projector is selecting the right one for your space. Consider factors such as screen size, resolution, brightness, and connectivity options. You’ll want a projector that fits your room and meets your family’s entertainment needs.
Epson EpiqVision Flex CO-W01 is a great budget friendly option due to Great image quality, Brighter than other budget-friendly projectors and it has Large maximum screen size.
Find the Perfect Location

Selecting the ideal location for your projector is crucial. The projector should be positioned in a way that provides an unobstructed view of the screen or wall you plan to use as your viewing surface. Mounting the projector on the ceiling or placing it on a stable surface is a common choice.
Screen or Wall Selection
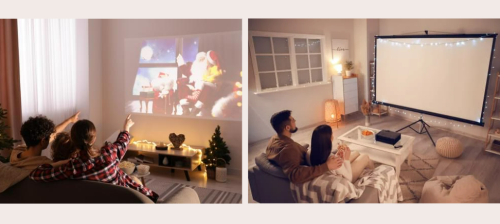
You can either use a dedicated projector screen or simply project onto a blank wall. While screens offer the best image quality, a painted wall can work well if you’re on a budget. Ensure the surface is flat, clean, and neutral in color for the best results.
Establish a Power Source
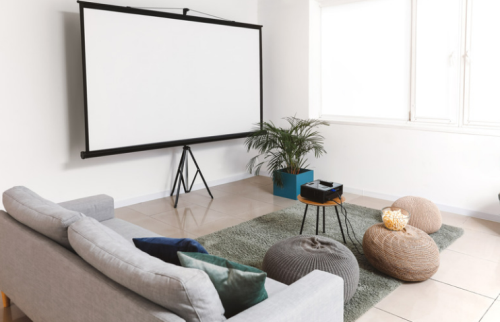
Projectors require power, so make sure there’s a nearby power outlet or an extension cord available for your projector. Using a surge protector is a good idea to protect your equipment from electrical surges.
Connect the Video Source
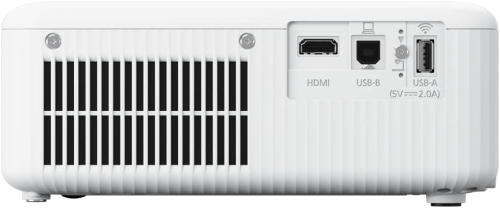
Connect your video source, such as a Blu-ray player, gaming console, or streaming device, to the projector using the appropriate cables. HDMI is the standard choice for high-quality video and audio transmission. Ensure your projector and source have compatible ports.
Set Up Audio
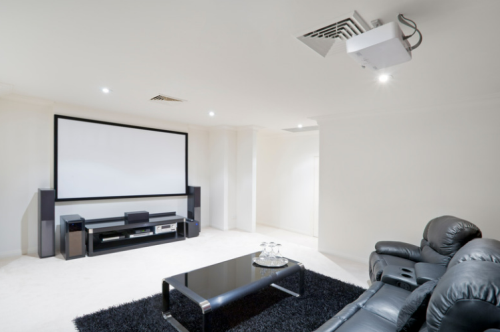
For an immersive home theater experience, audio is as important as video. Connect your projector to a sound system or use the projector’s built-in speakers if they meet your requirements. For the best audio experience, consider using a dedicated AV receiver and a surround sound speaker system.
Adjust the Projector Settings
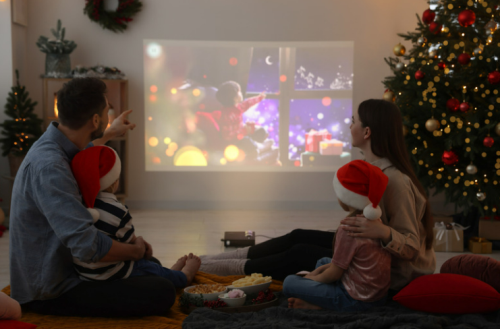
Most projectors come with various settings that allow you to optimize the image quality. Adjust the focus, zoom, keystone correction, and aspect ratio to ensure your image is sharp and well-proportioned. Experiment with the settings to achieve the best picture quality.
Lighting Control

To create a theater-like atmosphere, control the lighting in your home theater. Use blackout curtains or blinds to eliminate natural light during daytime viewing. Additionally, you can install dimmable lights or sconces to enhance the ambiance.
Test and Calibrate

Before you invite your family for a movie night, take some time to test and calibrate your projector. Ensure that the image is correctly sized and centered on your screen or wall. Adjust the colors and brightness to your liking, and don’t forget to align the image so it’s square and not distorted.
Enjoy Movie Nights
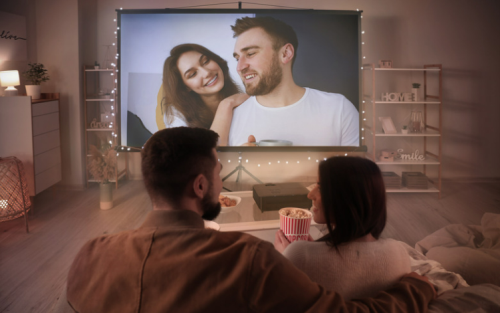
Once your projector is set up and calibrated, it’s time to enjoy family movie nights. Gather your loved ones, pop some popcorn, and settle in for a fantastic cinematic experience in the comfort of your home.
Setting up a projector for a home theater can be a fantastic addition to your family’s entertainment. With the right equipment, proper installation, and attention to detail, you can create memorable movie nights that your family will cherish. So, pick the right projector, choose a perfect location, fine-tune your settings, and get ready to enjoy countless hours of cinematic fun with your loved ones.
